


Introduction
Knowing how to shift columns in Excel is essential for organizing data efficiently, improving readability, and enhancing report accuracy. Rearranging columns in Excel is essential for better data analysis and formatting. By learning the correct methods, you can save time and work more efficiently. This will keep your spreadsheets well-organized, making data interpretation faster and more efficient. In this guide, we will walk you through simple, step-by-step techniques on how to shift columns in Excel easily.
This step-by-step guide covers simple methods to move columns in Excel, with examples and images for better understanding.
Why Shift Columns in Excel?
Shifting columns in Excel is useful for:
- Reorganizing data for better readability.
- Sorting and structuring reports to match specific formats.
- Enhancing data analysis by rearranging columns logically.
- Rearrange your data seamlessly and error-free by applying these simple techniques.
Absolutely! Let’s enhance the flow and SEO-friendliness by incorporating more transition words and refining the language.
Method 1: Rearranging Columns in Excel Using Drag-and-Drop
Step 1: Select the Column
First, click the column header (e.g., Column B) to highlight the entire column.
Step 2: Position the Cursor
Next, hover over the edge of the selected column until the four-sided arrow (↔) appears, indicating it is ready to move.
Step 3: Hold the Shift Key
For accuracy, press and hold the Shift key to prevent overwriting existing data.
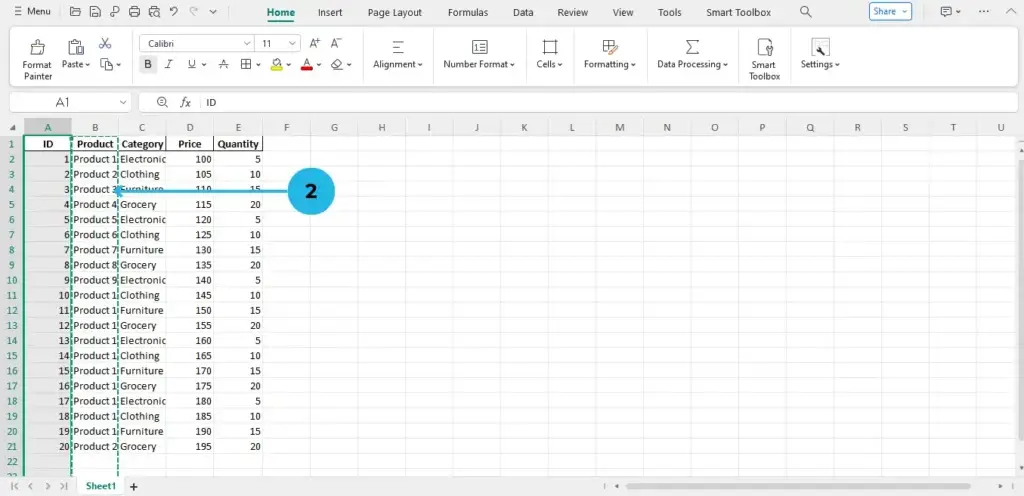
Step 4: Drag the Column
Now, click and drag the column to the desired position (e.g., after Column D). As you move it, a guideline will appear to show where the column will be placed.
Step 5: Drop and Verify
Once positioned correctly, release the mouse button and the Shift key. Finally, check the spreadsheet to ensure all data remains correctly aligned.
Method 2: Shift a Column in Excel Using Cut and Insert (For Precise Control)
Steps to Shift a Column Using Cut and Insert:
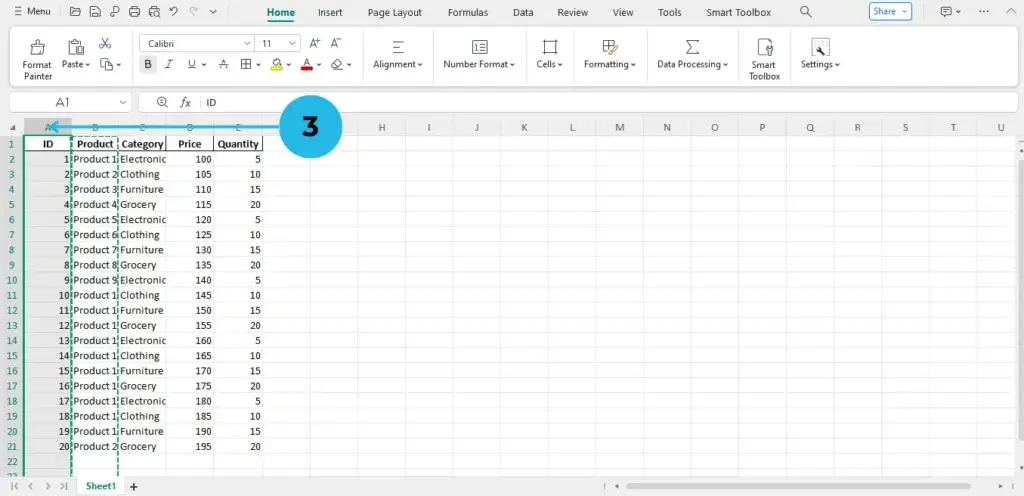
1. Select the entire column you want to move (click on “C” for “Date”).

2. Press “Ctrl + X” (Windows) or “Cmd + X” (Mac) to cut the column.
3. Select the destination column (Click on “A” for “Customer Name”).
4. Right-click on the selected column header and choose “Insert Cut Cells” from the menu.
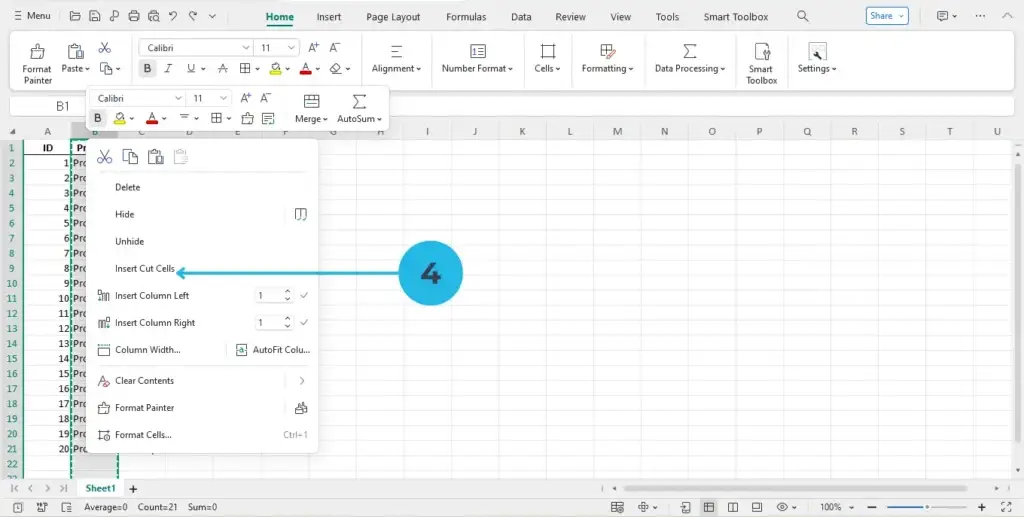
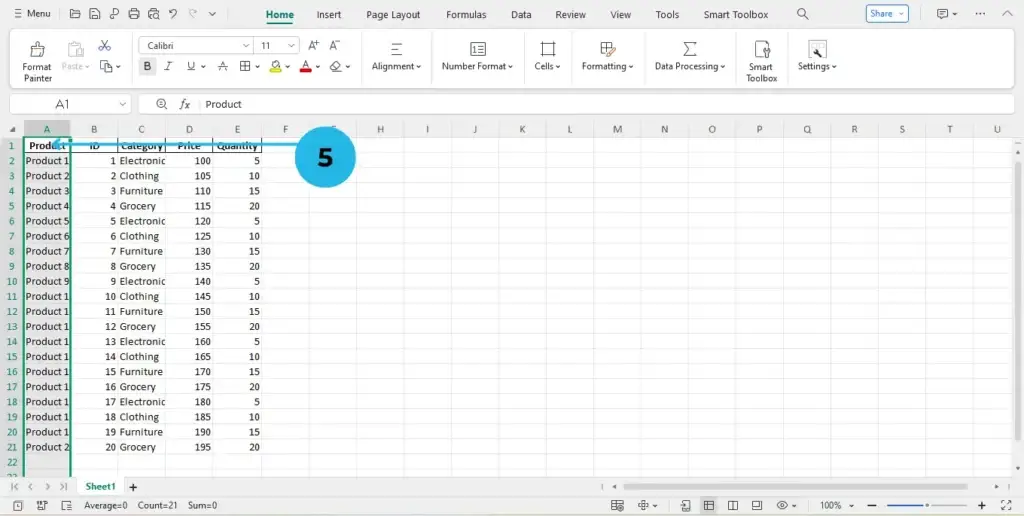
5. Excel will automatically shift the existing columns and place your cut column in the new position.
Method 3: Shift Excel Columns Using Copy-Paste and Delete (Alternative Method)
Steps to Shift Excel Columns Using Copy-Paste and Delete:
1️⃣ Select the column you want to move (click “E” for “Quantity”).
2️⃣ Press Ctrl + C (Windows) or Cmd + C (Mac) to copy the column.
3️⃣Select the column where you want to place it (click ‘D’ for ‘Price’).
4️⃣ Right-click and choose “Insert Copied Cells” from the menu.
5️⃣ Delete the original column by right-clicking on it and selecting “Delete.”
Conclusion
Mastering how to move columns in Excel is crucial for organizing data efficiently and improving workflow. Using methods like drag-and-drop, cut-and-insert, or copy-paste enhances data management and increases productivity. These step-by-step instructions help even beginners rearrange columns quickly and accurately This process enhances data clarity, making it easier to analyze. Regular practice makes Working with Excel more structured, efficient, and error-free.
For more Excel tutorials, explore PivotXL and enhance your spreadsheet skills!
