
Switching columns in Excel is a common task, and whether you’re reorganizing data for better clarity or restructuring a report, you may need to learn how to switch column in Excel efficiently. Fortunately, Excel provides multiple ways to do this. In this guide, we’ll walk you through simple methods to switch column in Excel without losing data.
First of all, there are several reasons why you might want to rearrange columns in Excel:
Above all, let’s explore how you can easily switch columns using different methods.
To begin with, the easiest way to switch columns in Excel is by using the drag-and-drop method. Here’s how:
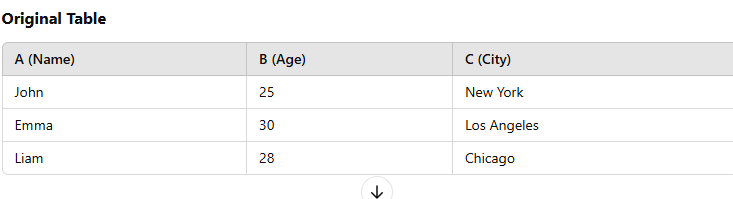
For instance, if you have columns in the order: A (Name), B (Age), and C (City), and you want to move “City” before “Age,” simply select column C, hold Shift, and drag it between A and B.
As a result, your columns will be rearranged easily.
On the other hand, if you’re working with large datasets, dragging might not be the best option. Instead, you can use cut and insert:
Similarly, if your columns are arranged as A (Product Name), B (Price), and C (Quantity), and you want to move “Price” to the last column, simply cut column B and insert it after column C.
As a result, your columns will be properly reordered.
Most importantly, here are some tips to avoid errors:
Above all, these precautions will help you prevent potential mistakes.
In conclusion, switching columns in Excel is a straightforward task, and when you know the right methods, it becomes even easier. Whether you’re using drag-and-drop for quick adjustments, the cut-and-insert method for large datasets, or VBA for automation, Excel makes data reorganization simple and efficient.
For even more Excel tutorials, check out our latest guides on PivotXL, where we cover everything from basic functions to advanced charting techniques!
