


If you’re working in Microsoft Excel and wondering how to add new tab in Excel, you’re not alone! Whether you’re organizing data, building reports, or simply keeping things tidy, learning how to add a new tab (also called a worksheet) is one of the most useful Excel skills.
In this easy-to-follow tutorial from PivotXL, we’ll walk you through step-by-step instructions on how to add a new tab in Excel — one of the most useful features for organizing your data. Whether you’re creating monthly reports, tracking expenses, or simply tidying up your workbook, learning how to insert a new worksheet can make your tasks much easier to manage.
Throughout this guide, we’ll use simple language, real-life examples, and clear screenshots (remember to insert them where noted) to help you understand every step. In addition, we’ll share helpful tips and shortcuts to boost your productivity in Excel.
So, if you’re ready to take your spreadsheet skills to the next level, let’s dive in and explore the easiest ways to add new tabs in Excel!
Learn more about how to add new tab in Excel, rename them, organize your sheets, and use them to build smarter workbooks.
What Is a Tab in Excel?
To begin with, a tab in Excel refers to a worksheet. Each Excel file (also called a workbook) can contain multiple worksheets, or tabs, that help you organize your data. At the bottom of the screen, you can easily switch between these tabs to view different sheets within the same file.
Think of it like pages in a notebook. You can use different tabs to separate your data — for example:
- One tab for sales data
- Another for expenses
- Another for graphs and summaries
Why Add a New Tab in Excel?
Here are a few practical reasons why you might want to add a new tab:
- To organize your work neatly
- To avoid cluttering one sheet with too much data
- To create reports or summaries based on original data
How to Add New Tab in Excel (3 Easy Methods)
Now that you understand what tabs are, below are three easy ways to add a new tab in Excel. Feel free to try each one and choose whichever method you find most convenient!
Method 1: Click the “+” Button
This is the easiest and most common way.
Steps:
- Open your Excel workbook.
- Look at the bottom of your screen, next to the existing sheet names (e.g., Sheet1, Sheet2).
- Click the “+” (plus) icon next to the tabs.
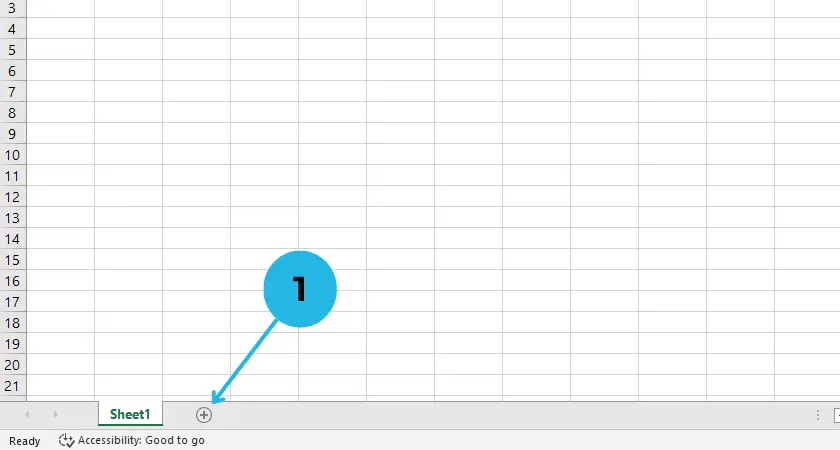
A new sheet will appear instantly — usually named Sheet2, Sheet3, etc.
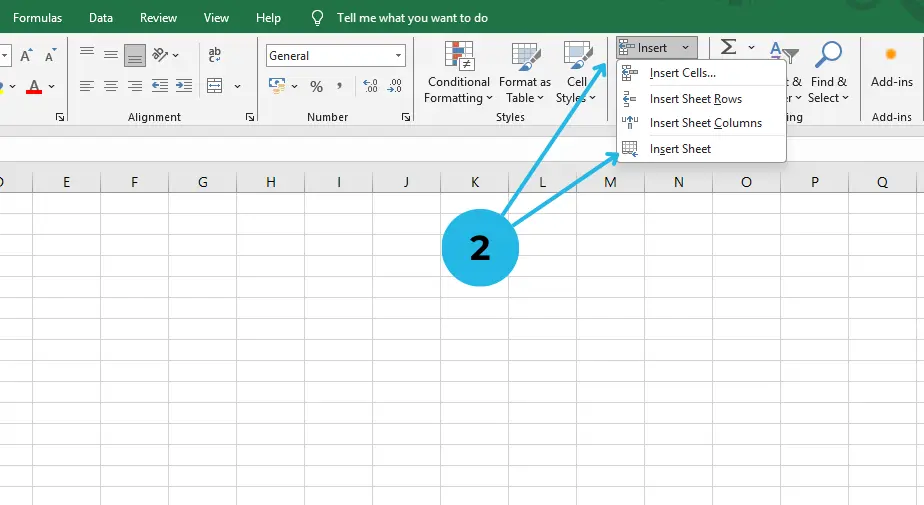
Method 2: Use the Excel Ribbon Menu
This method is also very simple.
Steps:
- Go to the Home tab at the top of Excel.
- Click on the Insert group (right side).
- Choose Insert Sheet from the dropdown options.
Method 3: Keyboard Shortcut
If you prefer using your keyboard, this is a quick trick.
Shortcut:
Press Shift + F11
This will immediately insert a new worksheet/tab.
Tip: You can rename your new tab by double-clicking on the tab name and typing a new one (e.g., “2025 Budget”).
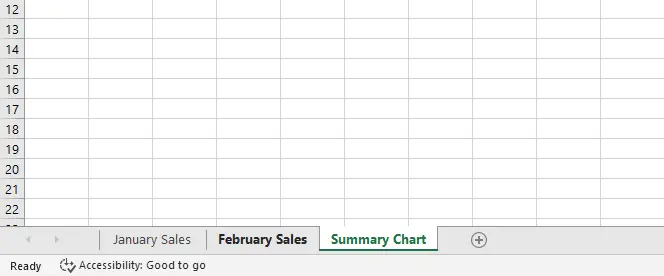
Example: Organizing Monthly Reports
Let’s say you’re creating a workbook to track monthly sales. Here’s how tabs can help:
- Sheet1: January Sales
- Sheet2: February Sales
- Sheet3: Summary Chart
This keeps your workbook neat and lets you compare data across months without scrolling endlessly in one sheet.
Pro Tips for Working with Tabs
- Right-click on any tab to access options like:
- Rename
- Move or Copy
- Delete
- Change tab color
- Use Ctrl + Page Up/Page Down to switch between tabs quickly.
- Keep similar data together for easier analysis with PivotTables later on.
Final Thoughts: Take Control with Excel Tabs
Although learning how to add a new tab in Excel may seem like a small step at first, it can actually have a significant impact on how you manage and work with your data. In fact, using tabs (or worksheets) in Excel helps you keep your work organized, tidy, and easy to navigate. Whether you’re managing finances, tracking sales, building dashboards, or working on any other project, breaking your data into separate tabs makes it much easier to analyze and present your information. By organizing your work into different sheets, you not only improve the clarity of your workbook but also enhance your ability to quickly find and update important data.
Think of each tab as a blank canvas for a different part of your project. Rather than cramming all your information into one sheet, you can easily organize your data by splitting it up into separate tabs. For example, you could:
- Keep raw data in one tab, so it’s easy to reference.
- Build calculations or summaries in another, helping you quickly analyze the data.
- Create charts and visuals in a third tab to make your insights more understandable.
By using this simple trick, your workbook becomes not only easier to read and update, but also more professional and efficient for anyone who works with it.
Liked this tutorial? Explore more Excel tips and tricks at PivoXL!
