


Introduction
Do you need to reorganize your data in Excel? If so, you’ll be glad to know that one of the easiest and most efficient ways to do this is by using the drag columns feature. Whether you’re working with a simple table or handling a more complex dataset, being able to drag columns in Excel can save you valuable time. In this guide, we’ll walk you through the process step by step, providing practical examples to make learning even easier.
Why Drag Columns In Excel Is Useful?
- Quickly rearrange data without manually cutting and pasting.
- Maintain data integrity while restructuring tables.
- Improve workflow efficiency when working with large datasets.
Now that you have a better understanding of the benefits, let’s dive right into the step-by-step process!
Method 1: Drag Columns In Excel Using the Mouse
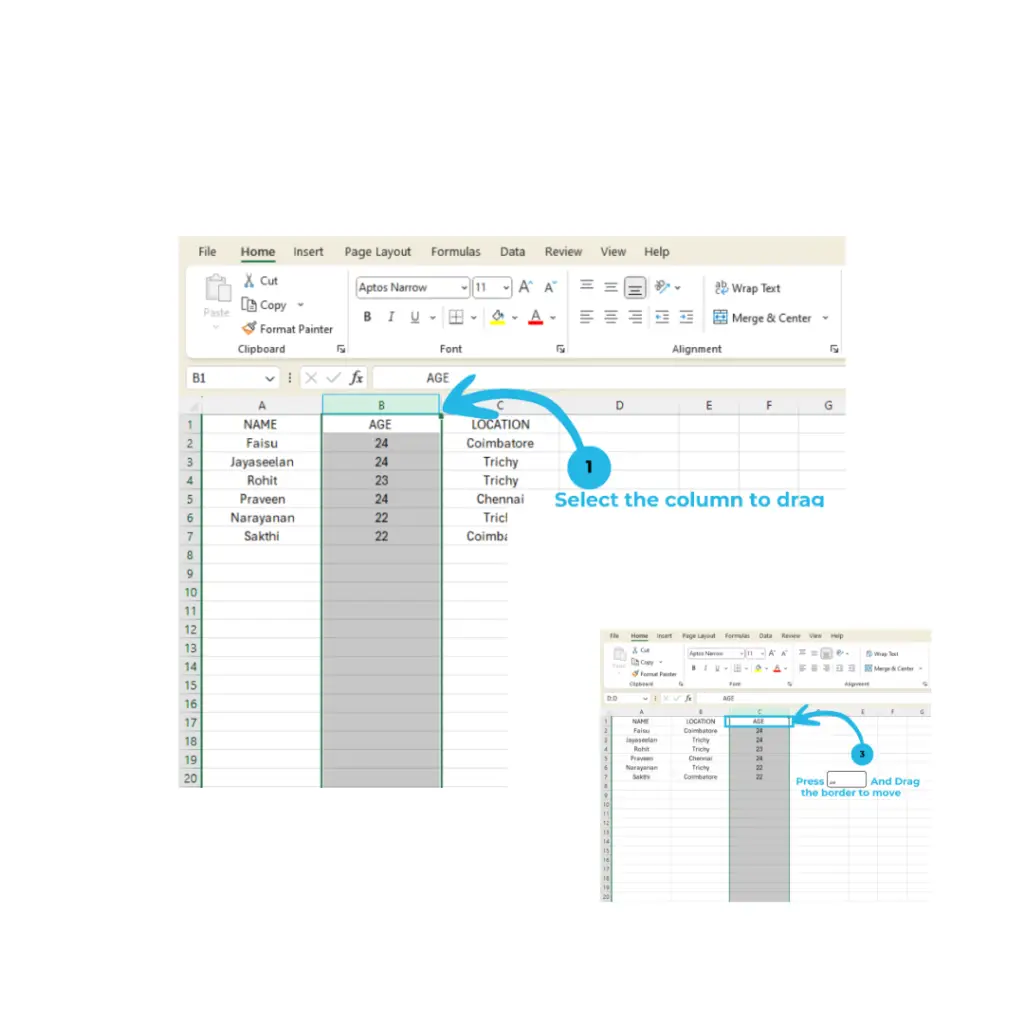
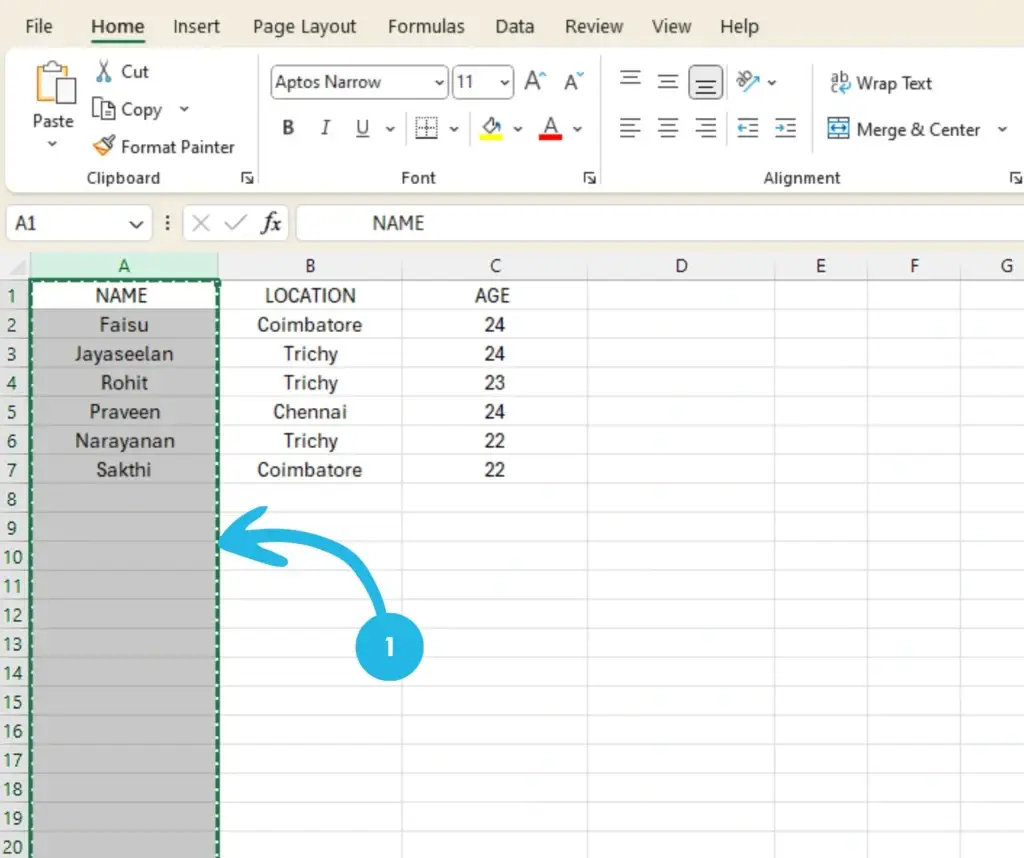
- Click on the header of the column you want to move (e.g., Column B).

- Move your cursor to the edge of the selected column until it turns into a four-sided arrow.
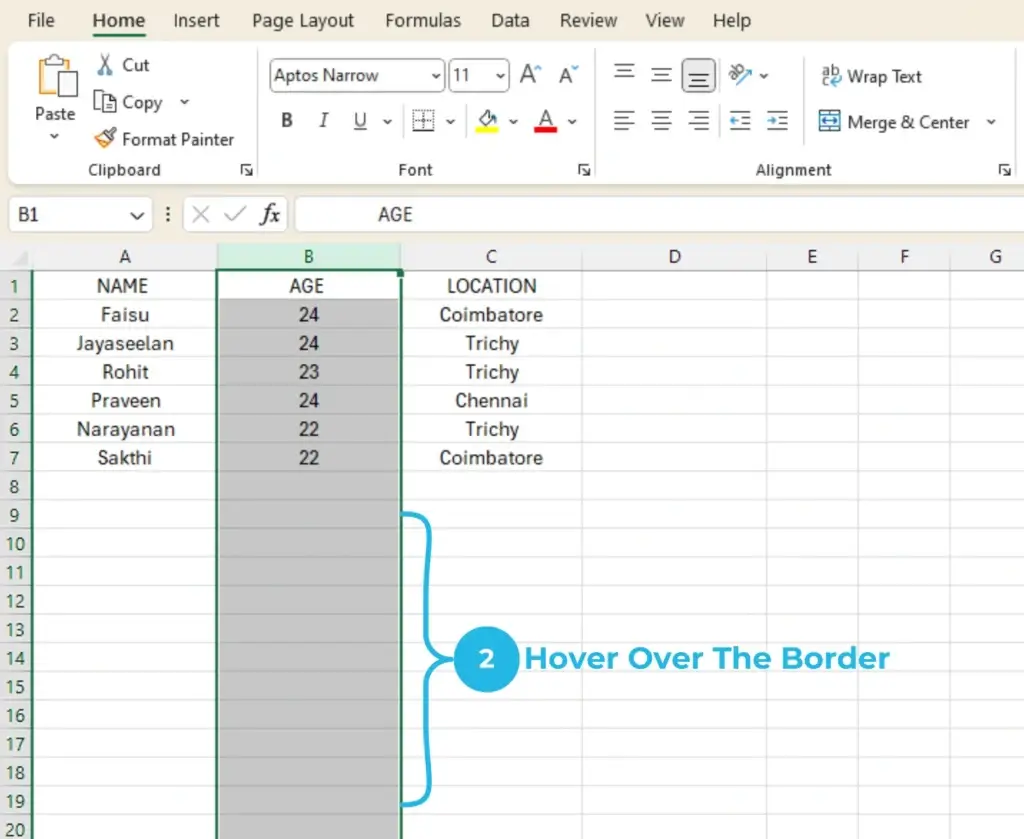
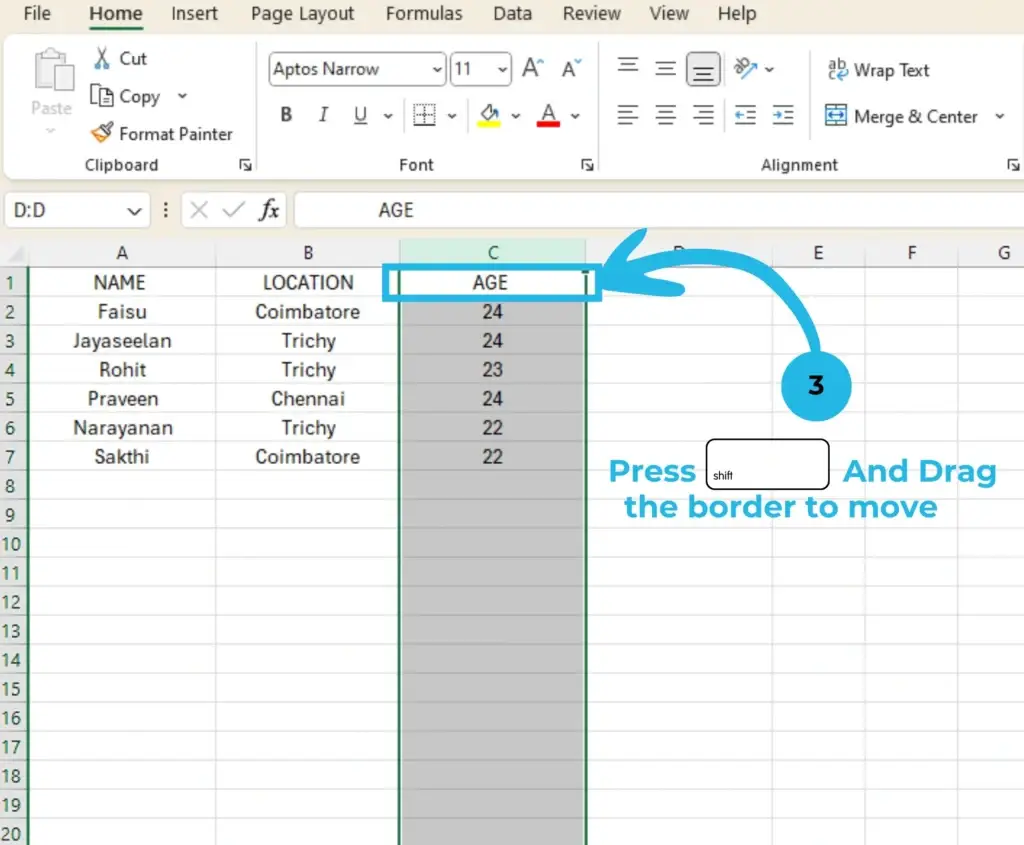
- Press and hold the Shift key.
- Click and drag the column to your desired location.
- Release the mouse button, then release the Shift key. The column will be placed in the new position.
Method 2: Drag Columns Using Cut, Insert, and Paste
If you prefer a more precise approach, this method is for you.
Step 1: Select and Cut the Column in Excel:
- Click on the column header.
- Press Ctrl + X (Command + X on Mac) to cut the column.
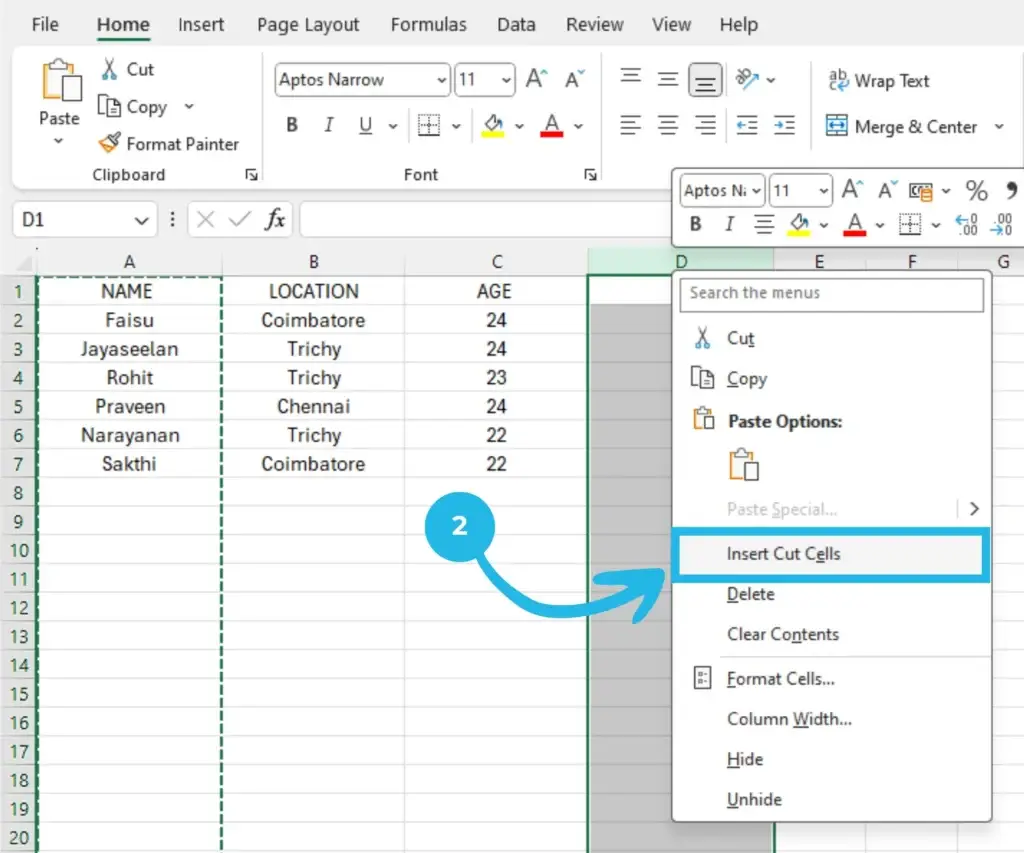
Step 2: Insert the Column in Sheet:
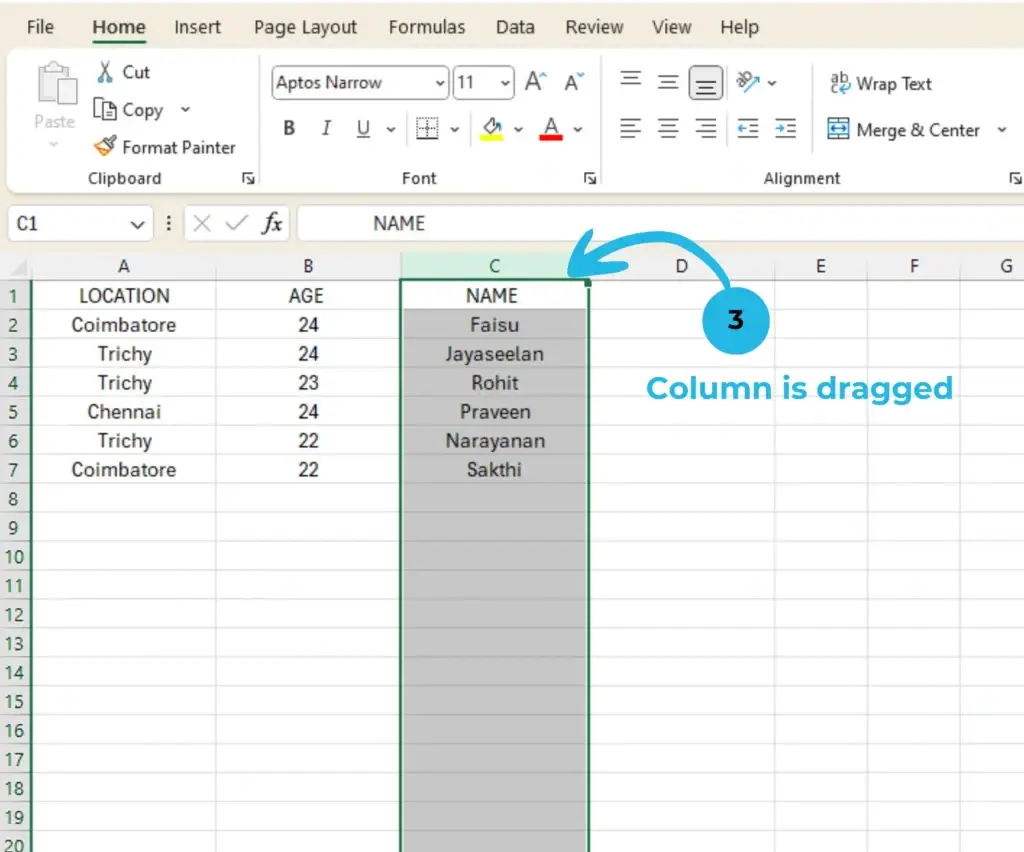
- Right-click and choose Insert Cut Cells.
- Your column is now moved to the selected position.
Related: How to Copy and Paste in Excel Without Losing Formatting
Final Thoughts
Mastering how to drag a column in Excel is a fundamental skill that can boost your productivity when handling data. Whether you use the mouse, keyboard shortcuts, or Excel Tables, these methods ensure you can efficiently rearrange your data.
Did you find this guide helpful? Stay tuned for more Excel tips and tricks from PivotXL!
