


If you’ve ever grouped cells in Excel to organize your data more efficiently, but now find yourself needing to ungroup them, you’re in exactly the right place. Grouping can be incredibly useful for managing large datasets, especially when you want to collapse or expand sections to keep your worksheet tidy. However, there often comes a time when you need to reverse this action — whether to edit the underlying data, prepare a final report, or simply view everything at once.
In this step-by-step tutorial, we’ll begin by explaining why ungrouping cells might be necessary and in which situations it’s most commonly used. For instance, when you’re ready to finalize your spreadsheet or share it with others, removing groupings can improve clarity and presentation. Additionally, we’ll look at how grouped data can sometimes interfere with certain Excel functions or printing formats — another reason why ungrouping is essential.
Whether you’re working with grouped rows, columns, or PivotTables, we’ve got you covered. Let’s dive in and make Excel feel less confusing and more empowering!
To begin with, learn how to ungroup cells in Excel effectively by following these simple steps.
What Does “Ungroup Cells” Mean in Excel?
When you group cells in Excel, you can collapse or expand them to hide or show parts of your worksheet. This is great for organizing large data sets. But sometimes, you may want to ungroup those cells to bring everything back to its original format.
Ungrouping cells means removing that grouping so the data is fully visible again.
When Would You Need to Ungroup Cells?
In certain cases, ungrouping cells in Excel can be extremely useful. For example, after organizing data with groupings, you might realize that you need to make edits or present the data differently. With that in mind, here are a few situations where you may want to ungroup cells in Excel:
- You no longer need to hide rows or columns.
- You want to edit the data without restrictions.
- You’re finalizing a report or sharing your file with others.
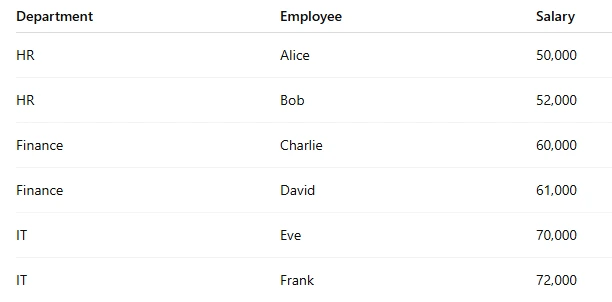
Sample Data:
How to Ungroup Cells in Excel (Rows or Columns)
At this point, you might be ready to make changes to your grouped data. So, let’s go ahead and walk through the steps required to ungroup rows or columns that you’ve manually grouped in Excel.
Step 1: Open Your Excel File
Open the Excel worksheet where the cells are grouped.
Step 2: Select the Grouped Rows or Columns
Click and drag to highlight the grouped rows or grouped columns.
Step 3: Go to the “Data” Tab
- Click on the Data tab in the Excel ribbon at the top of the screen.
Step 4: Click “Ungroup” to Ungroup Cells in Excel
- In the Outline group, click Ungroup.
- Choose either Rows or Columns, depending on what you’re ungrouping.
And that’s it! Your cells are now ungrouped.
How to Ungroup Cells in a PivotTable
When working with a PivotTable, you’ll often need to group data for better analysis. However, there may come a time when you need to reverse this action. Fortunately, Excel allows you to easily ungroup data within a PivotTable as well. With that in mind, here’s how you can ungroup cells that have been grouped in a PivotTable.
Step 1: Click a Grouped Item in Your PivotTable
Click on any item inside the group you want to ungroup.
Step 2: Go to the “PivotTable Analyze” Tab
- Click the PivotTable Analyze tab on the ribbon.
Step 3: Click “Ungroup”
- Click the Ungroup button in the Group section.
Now your PivotTable items are back to individual entries!
Pro Tip: Use Keyboard Shortcuts
Want a quicker way to ungroup?
- For Rows or Columns:
PressAlt + Shift + ←(left arrow) to ungroup. - For PivotTables:
Select the grouped item and pressAlt + Shift + ←as well.
This shortcut saves time when you’re working with large datasets.
Example: Ungrouping Monthly Sales Data
At this point, you might be ready to make changes to your grouped data. So, let’s go ahead and walk through the steps required to ungroup rows or columns that you’ve manually grouped in Excel.
- Select the grouped rows.
- Go to the Data tab.
- Click Ungroup → Rows.
Done! Your monthly data is now fully visible again.
Final Thoughts
Learning how to ungroup cells in Excel is a simple yet powerful skill that can greatly enhance your productivity. Whether you’re organizing large datasets, tidying up your worksheet, or preparing a clean and professional report, mastering this function gives you more control over your data layout.
To begin with, grouped cells are helpful for summarizing or hiding complex data. However, there often comes a time when you need to reverse that action — and that’s where ungrouping comes in. By understanding how to toggle groupings on and off, you can make your spreadsheets more flexible and easier to navigate.
Furthermore, ungrouping cells allows for clearer data analysis, especially when sharing files with others who may not be familiar with grouped structures. In addition, it helps reduce visual clutter and can make printing or exporting your worksheet much more efficient.
As you continue working with Excel, incorporating ungrouping into your regular workflow will save you time and improve your overall data management. So don’t worry if it feels unfamiliar at first — keep practicing, and soon this will become second nature!
More Excel Tutorials from PivotXL
Want more helpful Excel tips? Check out:
Now it’s your turn! Try ungrouping cells in one of your own Excel files and see how easy it can be.
Liked this tutorial? Explore more Excel tips and tricks at PivotXL!

