


Introduction
Microsoft Excel is a powerful tool for data management and analysis. Among its many functions, the IFS formula plays a crucial role in handling multiple conditions in a single formula. Whether you’re a beginner or an intermediate user, understanding IFS and formula in Excel will enhance your productivity.
In this guide, we’ll walk you through the IFS function step by step. Additionally, we’ll provide practical examples and screenshots to make learning easier. So, without further delay, let’s dive right in!
What is the IFS Formula in Excel?
The IFS function in Excel is designed to evaluate multiple conditions and return a value based on the first TRUE condition. This function eliminates the need for nesting multiple IF functions, making your formulas cleaner and easier to read.
Understanding IFS and Logical Formulas in Excel
To begin with, let’s look at the general syntax of the IFS function:
=IFS(condition1, value1, condition2, value2, …)
- condition1, condition2, … – Logical tests that Excel evaluates.
- value1, value2, … – Values returned when corresponding conditions are TRUE
Furthermore, for more details, visit Microsoft’s official Excel support page.
How to Use the IFS Function (Step-by-Step Guide)
Applying IFS Formula in Excel for Conditional Logic
Now that we understand the basics, let’s apply the IFS formula to real-world scenarios. This will help you see how it works in practical situations.
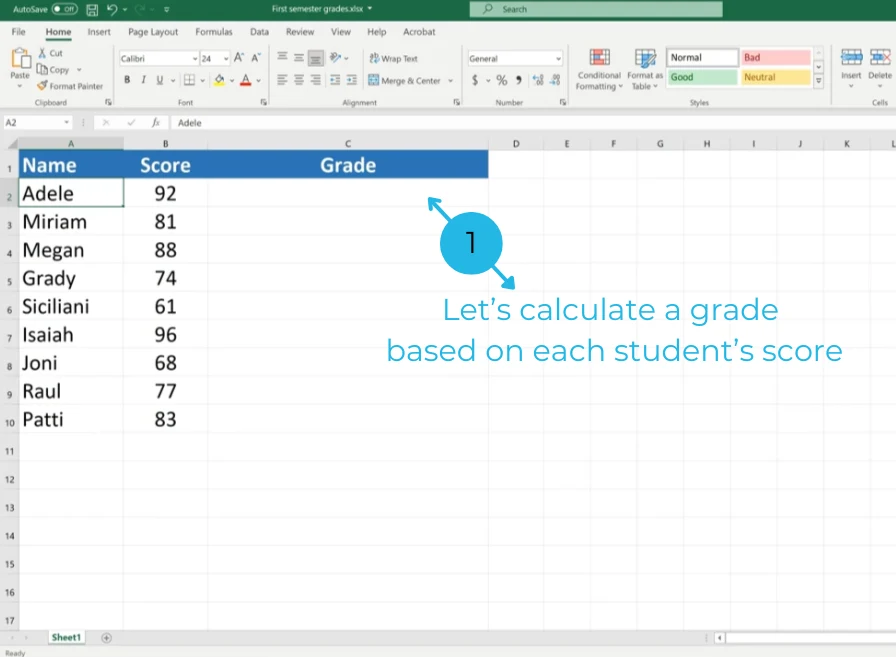
Example 1: Assigning Grades Based on Scores
Let’s assume you have a dataset with student scores and need to assign grades based on the following criteria:
- Score >= 90 → “A”
- Score >= 80 → “B”
- Score >= 70 → “C”
- Score >= 60 → “D”
- Below 60 → “F”
Step 1: Enter Data in Excel
To get started, follow these steps to enter your data:
- Open Excel and create a table with Student Name and Score columns.
- Next, add a third column named Grade, where the formula will be applied
Step 2: Apply the IFS Formula
In the Grade column, enter the following formula:
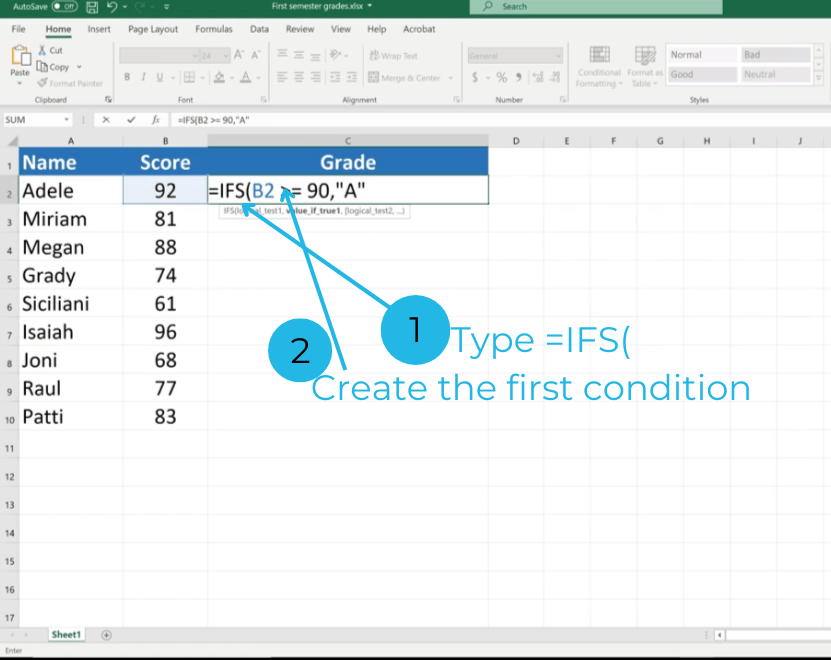
=IFS(B2>=90, "A", B2>=80, "B", B2>=70, "C", B2>=60, "D", B2<60, "F")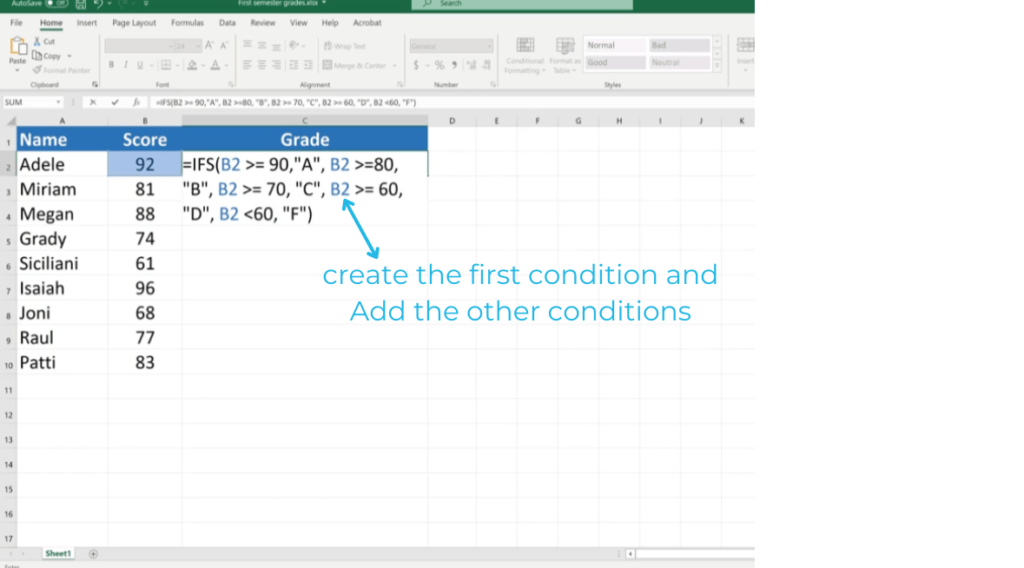
Step 3: Press Enter and Drag Down
- Press Enter, and the grade for the first student will appear.
- After that, drag the fill handle down to apply the formula to all rows. This way, all students will have their grades assigned instantly.
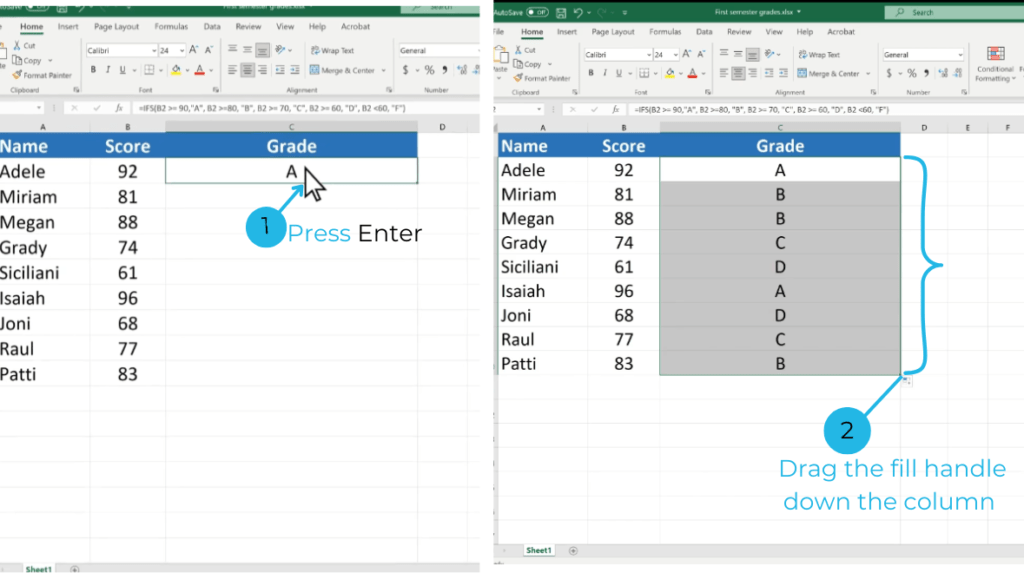
Once you apply it, the dataset will reflect the correct performance levels. Consequently, you can analyze your data more efficiently.
Advantages of Using IFS Over Nested IFs in Excel Formulas
There are several benefits to using the IFS function instead of multiple IF functions. Let’s take a look at some key advantages:
Improves readability – No need for multiple nested IFs, making formulas more understandable.
Saves time – Writing and managing formulas becomes easier.
Reduces errors – A simpler structure means fewer mistakes.
Enhances efficiency – You can handle complex conditions without making formulas overly complicated.
Common Errors and How to Fix Them
Despite its ease of use, users may encounter some common errors. Let’s go over them and how to fix them:
🔴 #VALUE! Error – Occurs when no TRUE condition is found. Always ensure you cover all possible cases.
✅ Fix: Add a default condition at the end: TRUE, "Not Applicable".
🔴 Incorrect Data Types – If logical tests or return values do not match expected types, an error may appear. ✅ Fix: Ensure numerical comparisons use numbers, and text outputs are enclosed in quotes.
By following these solutions, you can avoid common mistakes and improve accuracy in your formulas
Conclusion
To sum up, mastering IFS and formula in Excel simplifies data analysis and decision-making. With practical use cases like grading systems and performance evaluations, you can significantly enhance your Excel skills.
Now it’s your turn! Try using the IFS function in your daily tasks, and soon, you’ll be an Excel pro! Moreover, practicing regularly will help you become more confident in using Excel formulas effectively.
Do you have any questions? Drop them in the comments below!
For more Excel tips and tricks, check out our PivotXL Blog(https://pivotxl.com/) and explore our guide on How to Format Excel Spreadsheets.
